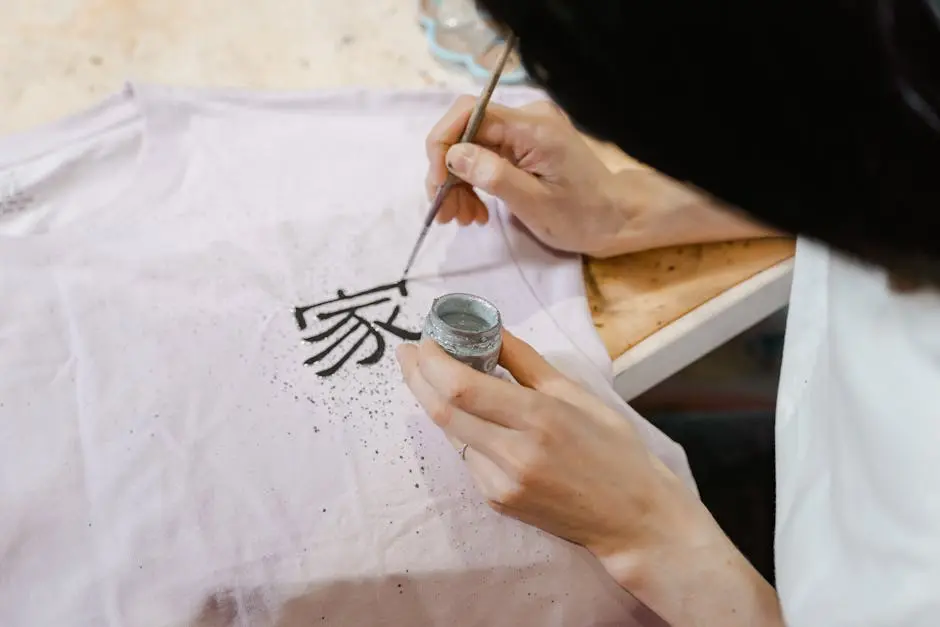
Creating your own custom pride shirts is a fun and expressive way to show your support for the LGBTQ+ community. This guide will walk you through the key steps to design shirts that are not only beautiful but also meaningful.
Step 1: Choose Your Design Concept
Start by brainstorming ideas that inspire you. Think about colors, symbols, and messages that resonate with you and represent pride.
As you consider your design concept, try to focus on elements that are not just visually appealing but also hold a deeper significance. Think about incorporating symbols like hearts, rainbows, or even quotes from LGBTQ+ icons whose words have left an indelible mark on history. This gives your shirt a personal touch that reflects your journey.
Don’t hesitate to draw inspiration from art, history, and even your own experiences. Each design can tell a story. For example, your concept might include references to a favorite pride event, a memorable moment, or elements that showcase inclusivity and unity. This exploration is where the magic happens; let your creativity flow!
Step 2: Select the Right Colors
Colors play a crucial role in your design. The rainbow flag symbolizes diversity, so consider using these colors to create a vibrant design.
Selecting the right colors goes beyond mere aesthetics. Each color in the pride flag carries its own meaning: red for life, orange for healing, yellow for sunlight, green for nature, blue for harmony, and purple for spirit. By understanding these meanings, you can create a design that resonates on a deeper level.
Experimentation is key! Don’t be afraid to mix and match colors. Using gradients or blending colors can create an eye-catching effect. Tools like color wheels can help you find complementary shades that will make your design stand out even more!
Remember, color can affect mood and perception. Bright, bold colors typically evoke feelings of excitement and joy, while softer shades can convey a sense of calm and reflection. Think about the message you want to send with your custom pride shirts and let that guide your choice of colors.
Step 3: Choose Your Shirt Type
Decide on the fabric and style of the shirt. Options include t-shirts, tank tops, or long sleeves. Ensure the material is comfortable and suitable for wearing during events.
When selecting the type of shirt, consider the occasion and your audience. If you plan to wear your custom pride shirt at parades or festivals, breathable fabrics like cotton or moisture-wicking materials may be best. They keep you cool while you celebrate!
Additionally, the cut of the shirt can impact how your design is perceived. For example, a relaxed fit t-shirt might give off a casual vibe, while a fitted tank top can show off more of your personality. Don’t forget about unisex options, which promote inclusivity for all body types.
Lastly, consider layering. Think about pairing your shirt with jackets or accessories, which can elevate your look and provide versatility throughout the season. Your custom pride shirts should reflect who you are inside and out.
Step 4: Use Design Tools
Utilize online design tools or software to bring your concept to life. Familiarize yourself with various templates and customization options available.
There are a plethora of user-friendly design platforms available today. Websites like Canva or Adobe Spark offer simple drag-and-drop interfaces, allowing anyone to create professional-looking designs without prior graphic design experience. By exploring these resources, you can easily play around with layouts and elements that fit your vision.
Don’t overlook the power of color palettes and fonts. Many design tools provide suggestions tailored to your theme and subject matter. As you create, think about how fonts can evoke different feelings in conjunction with your colors. A playful font paired with bright colors can convey joy, while a bold font might make a powerful statement.
As you finalize your design, remember to save different versions and gather feedback from friends or fellow LGBTQ+ advocates. They can offer invaluable insights and might even spark new ideas that enhance your original concept!
Step 5: Print Your Design
Once your design is finalized, choose a printing method, such as screen printing or digital printing, to get your shirts made. Compare local and online printers for quality and pricing.
Research is essential when selecting a printing service. Look for companies that specialize in custom apparel and check reviews to gauge the quality of their output. Some printers even allow you to order samples to ensure the print quality meets your expectations before proceeding with a larger order.
Next, decide on the quantity you want to print. If you’re creating custom pride shirts for a group event, bulk orders can save money. However, keep in mind that smaller batches might allow for greater artistic flexibility. Always weigh the pros and cons depending on your needs.
Finally, trust your instincts. Once you receive your shirts, wear them with pride. Each piece will carry the love and energy you put into its creation, and share your journey with the world! Your custom pride shirts will not only express your individuality but also stand as a unifying banner of love and acceptance.
Final Thoughts
Designing your own custom pride shirts can be a fulfilling experience that allows you to showcase your creativity and support for a great cause. Remember to consider your design, material, and printing options carefully to create something you’ll be proud to wear.


